How to Create a Forest Garden
Living with the land
“Provides great nourishment for you and your family”
First, let me tell you what a forest garden is. A forest garden is a very old way of creating a low maintenance system that meets human needs by planting gardens that copy the natural structure of a forest.
Layers of a Forest Garden
There can be as little as three or as many as seven layers to a forest garden. They are quite different than a traditional garden. You don’t have to till the soil or worry about weeds. Depending on space, you can do three main layers of trees, shrub and soil surface or root. With more space you can do a full seven-layer edible forest garden. The layers are;
1 – Canopy Tree Layers (Large fruit and nut trees)
2 – Low tree layer (dwarf fruit trees, dwarf nut trees)
3 – Shrub layer (currants and berries)
4 – Herbaceous layer
5 – Soil surface layer (ground cover crops)
6 – Root layer
7 – Vertical layer (climbers and vines)
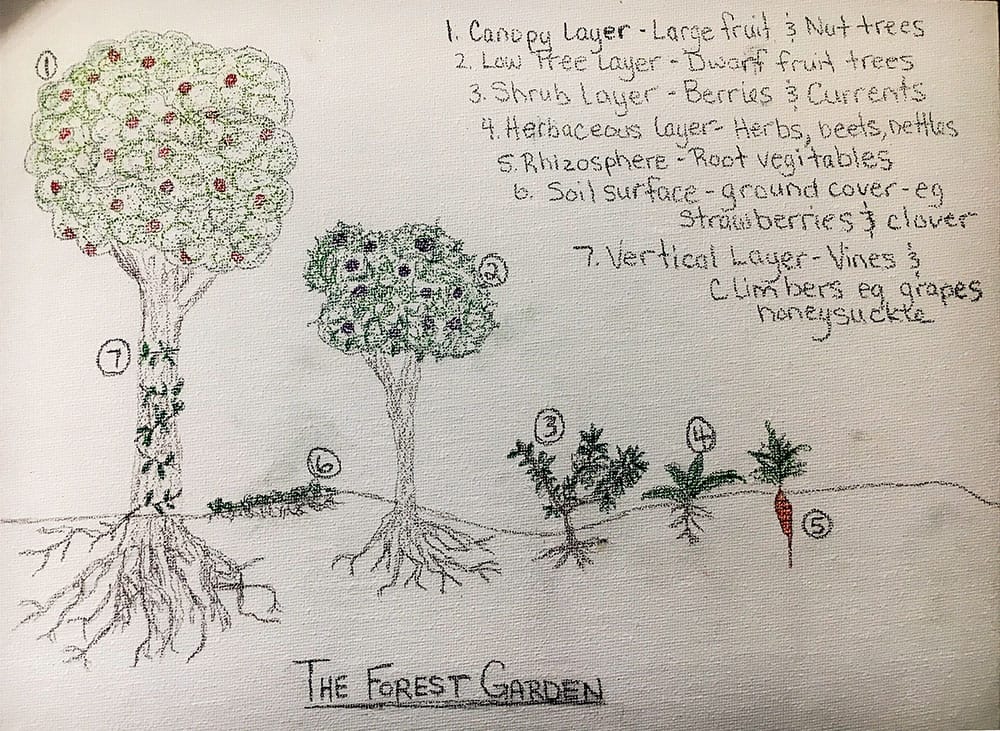
Seven layers of a forest garden
Designing your forest garden
When designing a forest garden, you want to understand a few basic principles. They will allow you to plan what you need in the space you have available. Usually forest gardens are comprised of perennial species, thus allowing for less maintenance and more productivity, although you can use some annuals.

Drawing of my forest garden so far.
Other Crops
Depending on what your plans are, you can also plant medicinal plants. These may include eucalyptus, St. Johns Wart, balm and nettles et cetera. Other possible crops you can add would be different types of plants for crafting, like willow, bamboo or building material, firewood or wood to use for smoking meat.
Layers of a Forest Garden explained
Let’s dive into the different layers of a forest garden and what are some examples of the different types of crops you can add to each.
Canopy Tree Layer
The first layer is the tall canopy trees. “When planting full size fruit and nut trees, be sure to plant them with enough space for them to grow. As well, you need to make sure there is enough room for light to come through once they are fully grown. Apple, peach, plum, and some species of nuts are good ones to start with.
Low Tree Layer
The second layer of a forest garden consists of a low layer of trees. This layer can be dwarf fruit trees or some species of nuts that grow lower than full size fruit and nut trees. Apricots, peach, nectarines, hazelnuts and almonds are all naturally small trees. Any would make good choices to add to your garden. Nitrogen-fixing trees are also great for supplying mulch and compost. They grow quickly and can be heavily pruned. You can check at your local garden center to see what dwarf trees they have for your area.
Shrub layer
The shrub layer should have some different shrubs and smaller type plants. Some great examples are blueberries, bamboo, butterfly bush, raspberries, blackberries, currents, gooseberries et cetera.
Put sun-loving plants at the edge of the forest garden where they will receive the most sun. You want to plant mostly perennials, but you can still add some annuals and self-seeding species
Part of my shrub layer with raspberries and blackberries.
Ground Cover Layer
Next is the ground cover layer. You want ground-hugging plants such as strawberries, creeping thyme, phlox, verbena, nostrum and clover. This layer is important for helping to keep the weeds at bay. Culinary herbs, vegetables and cover crops are great for mulch as well.
Vine Layer
The vine layer can be grown up the tall and dwarf trees. This creates a great use of space by using the taller trees as a ready-made trellis. There are a variety of vines that would work great. Kiwi, grapes or hops are just a few. More decorative choices could be English Ivy, wisteria, and honeysuckle. You can also train raspberries and blackberries to grow up although they will need help staying in place. I am also going to try planting some peas and bean vines to see how they will turn out.
The Last Layer is the Root Layer
There are several easy to grow plants that can be used as a root layer. Some of the ones I plan to try out in my forest garden are potatoes, onions, beets, garlic and carrots. I may even try some sweet potatoes and yams.
Benefits of a Forest Garden
There are many wonderful benefits of a forest garden. Not only will it provide great food and nourishment for your family, it can also provide attractants for pollinators and woodland creatures. Once it is more established it can be a wonderful place to go and relax. You are working with the land and not against it. You can yield a wide variety of products with very low maintenance. Helps to keep the land from eroding and also helps with winter run off. There is very little to no greenhouse gases and it promotes biodiversity. Besides all that, it is very pleasing to look at and to wonder your way through.
My Secret Garden
Throughout my years of growing up I have seen a lot of amazing gardens. We used to travel to England almost every summer. They have some of the most amazing and beautiful gardens. Then watching The Secret Garden, I knew that one day I wanted to create one for myself. A forest garden isn’t quite the same in it doesn’t have walls and a locked gate. You don’t really worry about weeds and it’s not in rows. You also don’t have things planted in the same area. It will have a bench and maybe even a swing. It will be my little oasis to get away and relax. The best part is that I can nibble on whatever I please while I am relaxing on the bench.
Space needed to create a Forest Garden
The wonderful thing about creating a forest garden is there is no hard and fast rule on the space needed to do so. You can start one right in your own back yard on a small lot or an even bigger one if you have an acreage. Some have done a forest garden in a 50 square meter area and others in 1000 square meters or more. If you are doing a smaller space just omit some of the taller layers. Use the space you have available to you and plant the layers according to what you can fit in that space.
The Beginning
At first it was just a space where we decided to plant some fruit trees. I didn’t know anything about forest gardens. While researching different ways of gardening, I came across an article on a forest garden. It really intrigued me to see all these different plants working together to create this amazing little ecosystem.
From that moment on it was decided. We were going to create our own little forest garden.
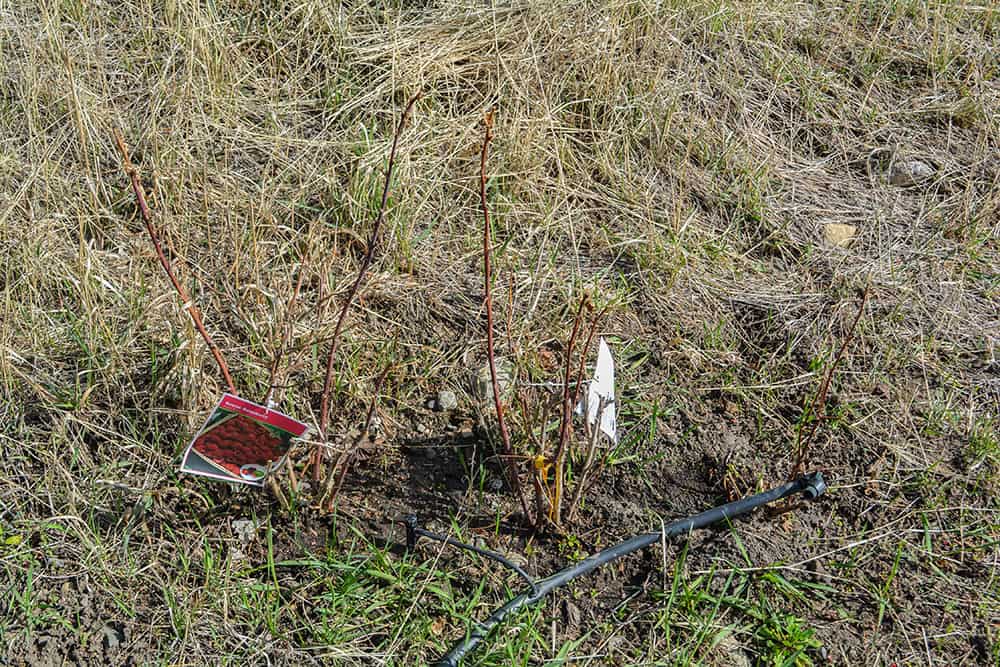
Although I have only just started my forest garden, I am looking forward to watching it grow. Last spring, 2018, I planted three fruit trees, five blueberry bushes, two raspberries, one blackberry and two Saskatoon berry bushes. Unfortunately, I didn’t protect my Saskatoon berry bushes and my goats ate most of them. I have since taken them out to try and save them. In their place, I have planted two rhubarb crowns. I re-potted the Saskatoon berry bushes and have put them in the greenhouse in hopes that they will come back.
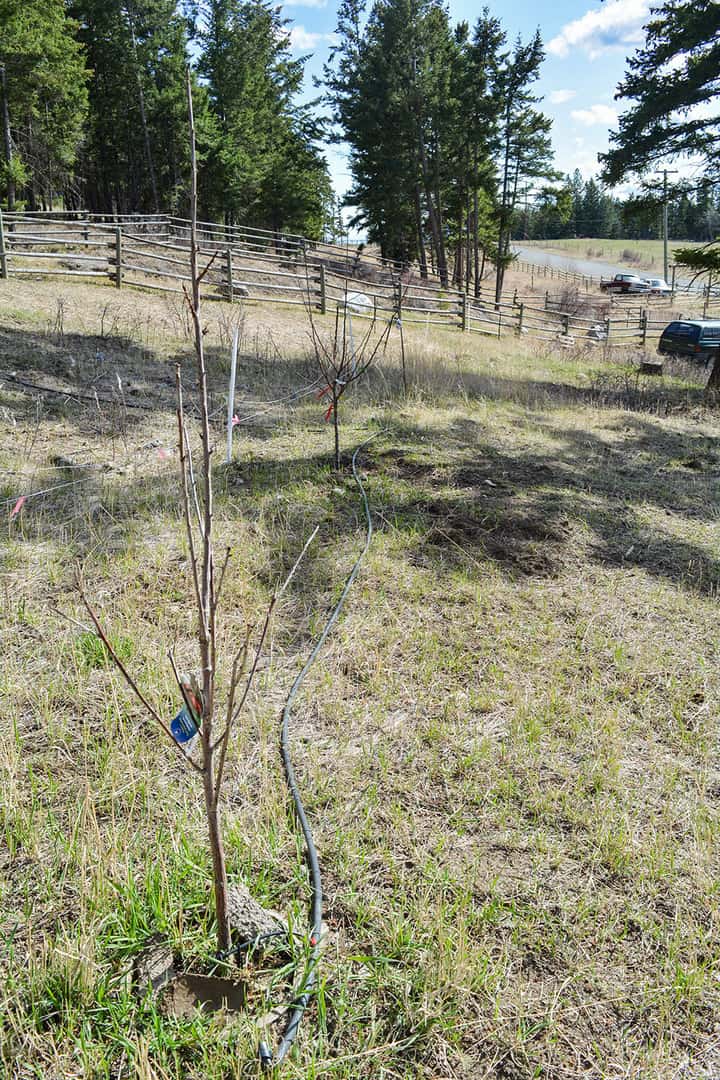
The start of my forest garden.
If what I planted last year survived the winter I will plant some ground cover crops and root crop. Strawberries, Jerusalem artichokes and even some herbs will be going in as soon as the weather warms up enough.
Another addition to my forest garden is a drip irrigation system. I have it attached to a timer, so I don’t have to remember to water. Also, if I need to go away for a few days or even a week, I am not worried about my garden drying out.
Kootenay Permaculture
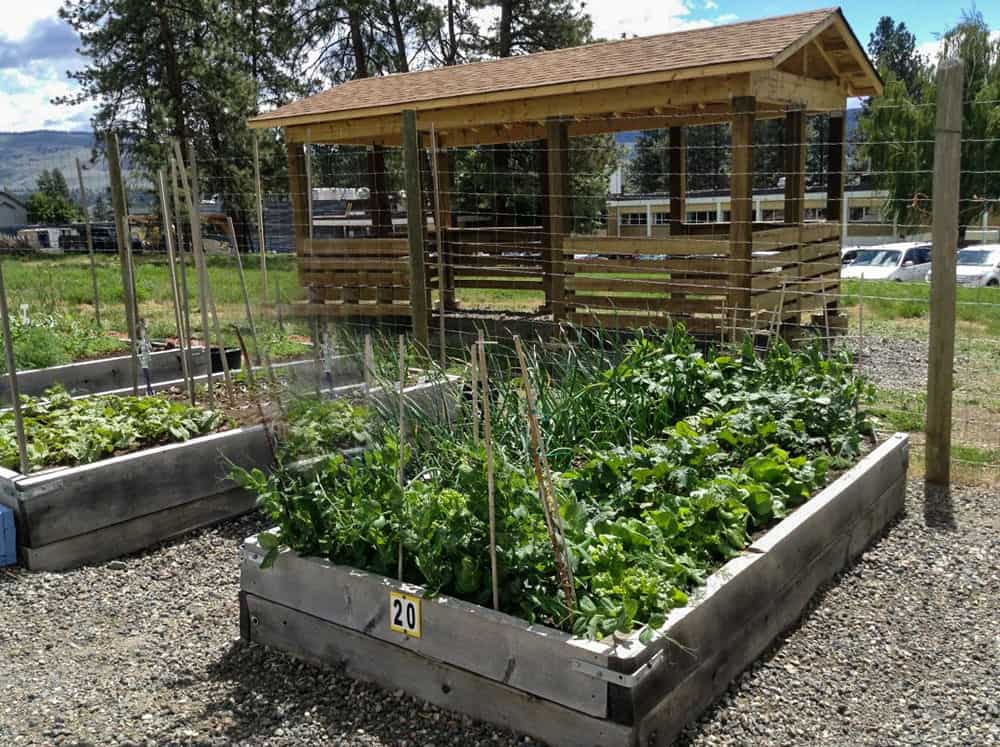
The Forest Garden at Spiral Farm was started in 1993. If produces an abundance of fruits, berries, nuts, medicinal herbs and fiber crops such as willows and bamboos. It is located in the Slocan Valley on a 10 acre farm. Kootenay Permaculture was created to research and provide education in Permaculture and ecological living. It was started in 1991. It is an amazing example of what you can do to create a very productive Forest Garden. If you are interested in taking a Design Course in Permaculture get a hold of Spiral Farms. They have been offering a course annually since 2002.
Pictured below is a 20 year old Forest Garden from Kootenay Permaculture. It is amazing how beautiful it can look over time.
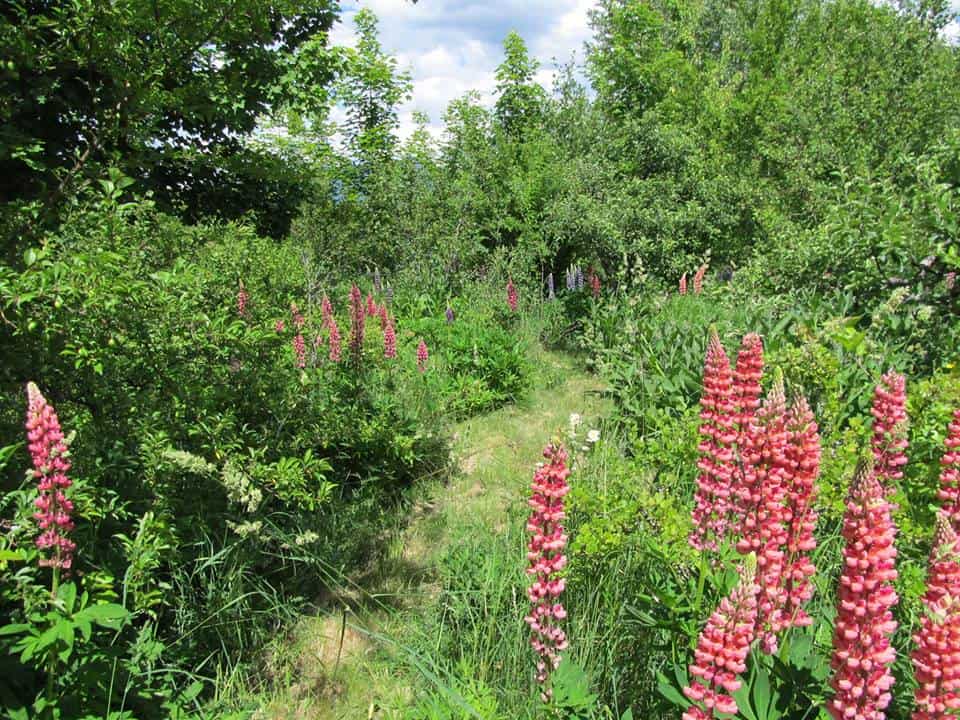
Photo Credit : Kootenay Permaculture.
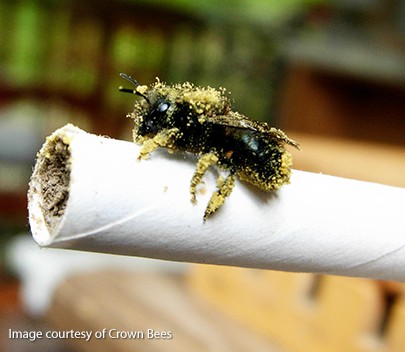
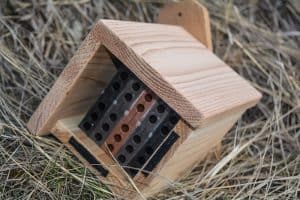
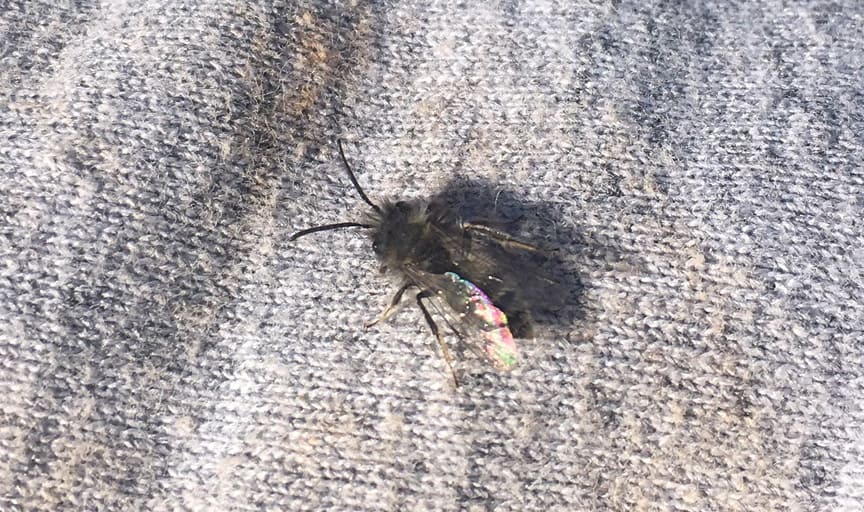
I have also introduced Mason Bees. I will be releasing them as soon as the weather is cooperating. Check out my blog on Mason Bees here.
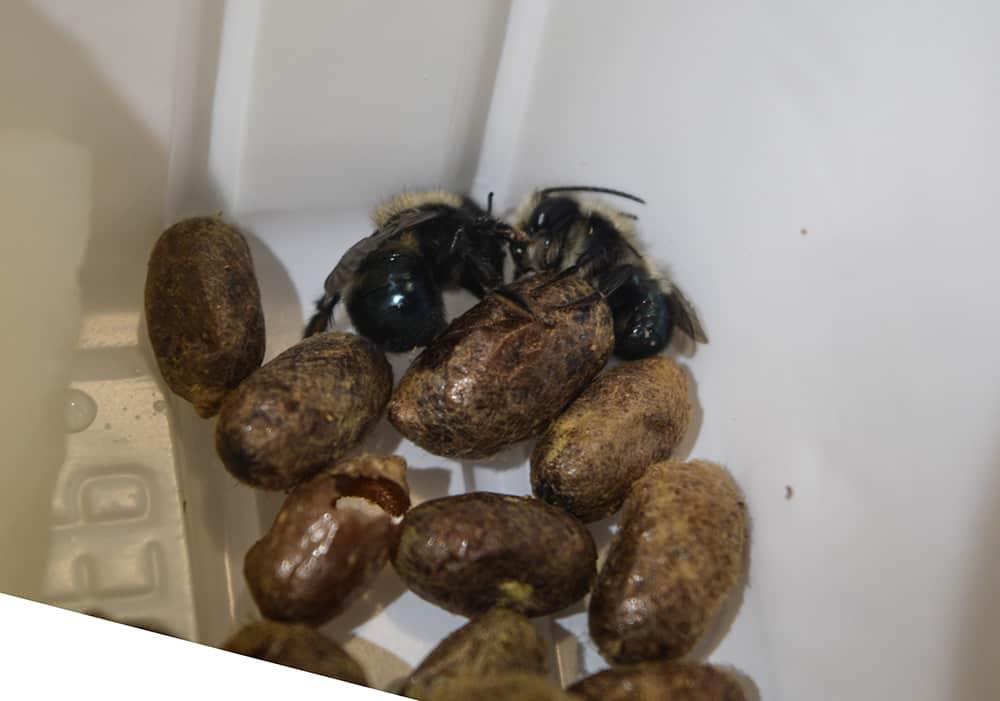
My little mason bees emerging a little early.
Over the year I will be updating and doing more photos as the forest garden grows. I hope you will follow along to see how things work out. You can find more of my blogs at Experience Nicola Valley.
More Information
If you are looking for more information about creating your own forest garden, the internet is a great place to start. There are many sites full of information on forest gardens and permaculture.
If you’re in the Nicola Valley, there are couple of great places to purchase supplies. Canadian Tire and Purity Feed both have a great selection of trees and plants.
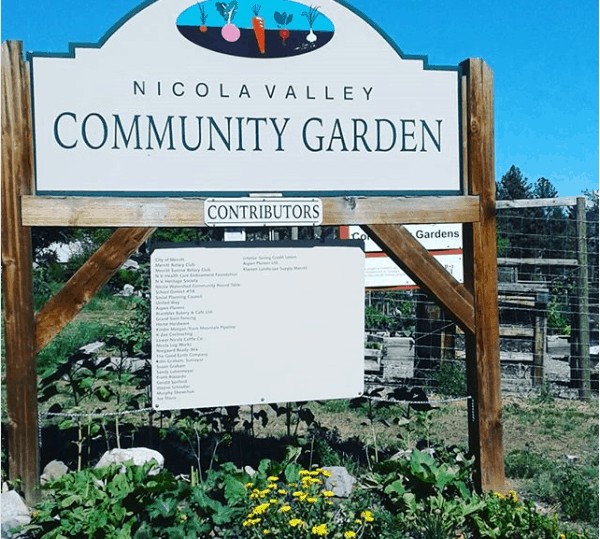
I also can make garden signs for your garden, walkway or anything you need. You can have a look at my Twisted Turkey Facebook page to see some of my signs and home decor items.
Thank you for taking the time to read my blog and HAPPY GARDENING.
Feature photo credit to The Green Parent – The Edible Forest Garden. Feel free to check out their article here.